Airport Procedure for First-time Flyers: the Complete Guide
Flying from India to the USA or other foreign countries, you need to board an international flight whose procedures are “a little different” than taking a domestic flight.
The only reason why you feel anxious about boarding international flights is that you think it’s hectic, “different” and stressful.
You need to come across immigration officers, their questions, and security check-in that is a little intense, and upon that there is a constant fear of the “unknown”.
What if I miss some official documents or what if they do not allow taking sweets or stop me from flying? The airport looks so huge. Yes, the fear list goes on!
You do not know where to start. But does every “different thing” have to be hectic?
Before taking the flight, You should know things to carry from India to the USA like documents and all.
I am not saying airport procedures for international flights, rules, safety protocols, and everything are less. It’s there, the process is long.
But if you follow things step by step there won’t be any hurdles throughout the journey.
So, do not get nervous let’s take the first international flight seamlessly. This blog discusses – airport procedures for first-time international flyers.
Also, inform you of the airport procedure step by step in domestic and foreign airports.
Read: A Practical Guide On How To Pack Clothes For Travel
Airport Procedure for First-time Flyers in Domestic Country – Step 1
Preparation for taking an international flight to the USA from India or an international flight to foreign countries starts way before reaching the airport.
While packing your bags, you should read the baggage guidelines of your airline and also the baggage limitation. Each airline’s guideline varies from the other.
So, let’s queue up for boarding an national/international flight
1. Luggage – Packing do’s & don’ts and weight allowance
You cannot carry everything you want, you’ve limitations. And, no airplane offer standard baggage weight, it has different luggage limit.
Remember, luggage limitation is decided by the airline you’re traveling with. Also, how you’re traveling with them – economy or premium economy or business.
For example, Emirates for economy class allows 20 kg check-in baggage whereas Virgin Atlantic for economy class allows 23 kg checked-in baggage weight.
If you carry extra than mentioned in the ticket, either you’ve to pay extra for carrying, which charges very high or throw out some kinds of stuff in the bin.
Now, how will you know, how much weight are you allowed to carry for your international trip? Every piece of information is mentioned in your tickets.
Your ticket is where you’ll find how much weight you’re eligible for carrying. This time rather than asking your relatives about baggage limitations, start reading your own ticket.
In case, you do not find your answer in the ticket, you call the support team, of the particular airline for information.
Read 17 Gifts For People Who Love To Travel – Affordable Gifts Ideas:
Let me tell you, while I was going to Bangkok with AirAsia I found out that they do not allow their economy class passengers to carry check-in baggage at all.
You can only have hand baggage which you can directly carry with you in the cabin. Now, if you have to check in any baggage you’ve to pay extra at the airport.
Also, the most important thing you’ve to remember is – NEVER carry a portable charger in your check-in luggage, put it in your hand luggage.
If you do put your portable charger in your check-in luggage, chances are either you’ll be called out to stop boarding or your bag will not be allowed on the flight to fly.
International flights do not allow you to carry liquid of more than 100 ml. Any beauty products or toothpaste, of more than 100 ml. If you’re carrying it’ll go into the bin.
Hence, you should be very much aware of things you can carry and not carry in your checked-in baggage and hand luggage. So, please, research before going to the airport.

2. Pre-Weight Luggage
After packing and before reaching the airport, you’ve got a big duty to solve. There is no argument that you or I tend to overpack and end up packing extra.
Talking about me, I always pack extra and also do not want to pay a high amount of money at the airport. Now, what to do?
I also cannot see airport officials throwing away my things in their bins. I only have one solution, keep back extra things at home and then leave for the airport.
You already know what to pack and how much to pack, hence, after packing it is highly recommended weighting your bags and check the weight limit.
In this case, you know how much extra you’re carrying than mentioned in the ticket and rather than opening everything in the airport and hustling.
I think it’s better to leave extra things at home rather than paying extra or throwing them in the bin.
What do you think? Remember, do not overweight your bag.
Try to pack light to make your travel journey enjoyable. Because following airport procedures step by step is a task that can relieve you more than carrying heavy bags.
3. Reach the airport 4 hours prior to flight departure
My driver was delayed, there was traffic on road, my alarm didn’t ring, and checking in took a lot of time – all these are considered “invalid excuses” by airport authorities.
If you delay reaching the airport, you will miss your flight. There are no “if’s” or “but’s”. You need to be at the airport 4 hours before your flight is scheduled to depart.
Believe me or not, I saw a couple in Delhi miss their Indigo flight leaving for Bangalore for just 15 seconds.
You can easily buy another ticket for the domestic flight. But, international flights cost a minimum of Twenty Thousand, do you want to spend so much for a such reason?
You can do your web check-in 48 hours before departure with the flight you’re traveling but still, it is advisable to be on time. Keep checking your emails.
In the airport, there might be a lot of reasons for delays like entry queues, immigration queues, multiple security check-in processes, and a lot more.
You never know. So, for the safe side, please reach the airport 4 hours prior to your flight departure.
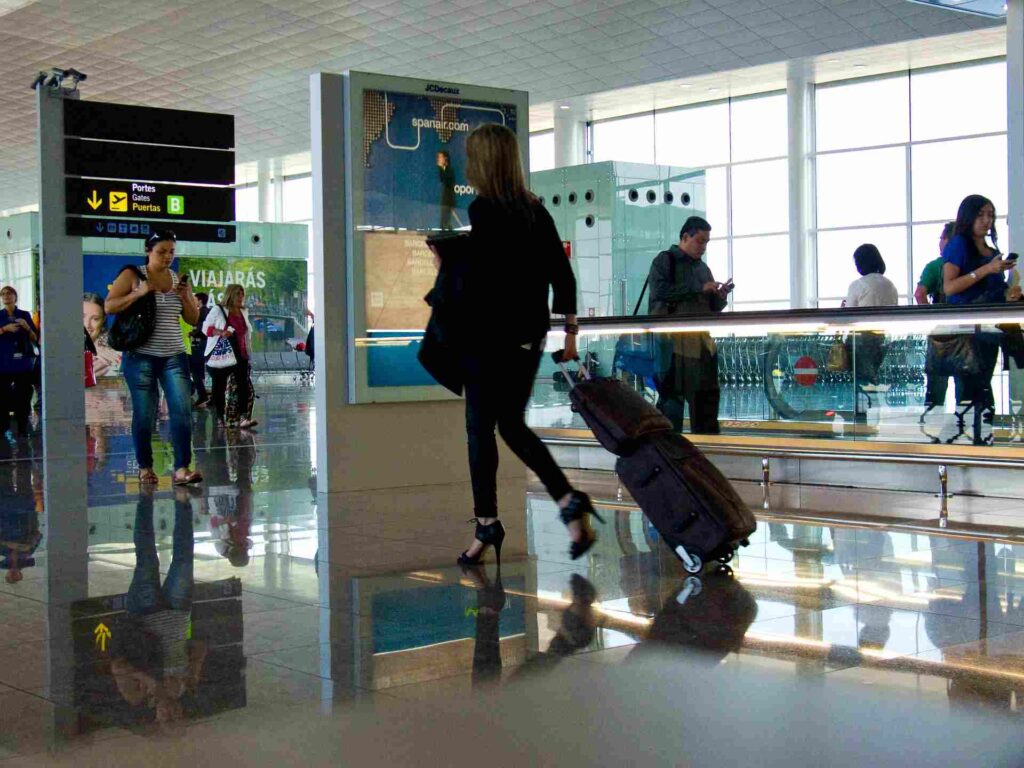
Airport Procedure for First-time Flyers for international flight
Finally, you’re on the way to the airport and there are two things you’ve to know before getting down at the airport.
You need to know the name of the airline you’re flying with and as per stand in front of that particular gate no. Where will you get the gate no?
Well, on your tickets. Also, you’ll receive an email prior one day before departure. So, remember to check it before arriving at the airport.
For example, when I was flying from India to the USA with Virgin Atlantic, I was standing at Gate number 6.
If I would stand at a different gate no, or terminal the security guards won’t allow me to enter. Flight companies have respective counters in front of the gate assigned.
Now, even before entering the airport, you need to show the security guard your e-ticket, passport, and ID. Always keep these things handy or in your handbag.
However, a lot of people must tell you to have a printout of your ticket, but they forget they are living in the 21st digital century. Hence, your e-tickets are fine to run!
Isn’t that easy breezy?
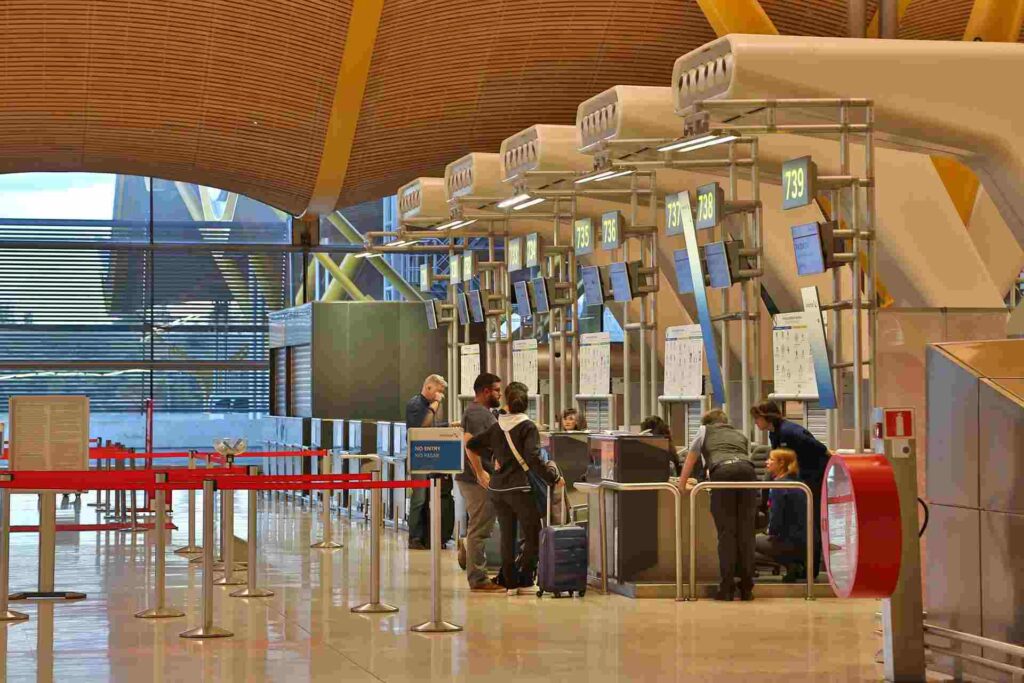
4. At the airport – boarding pass & checking in
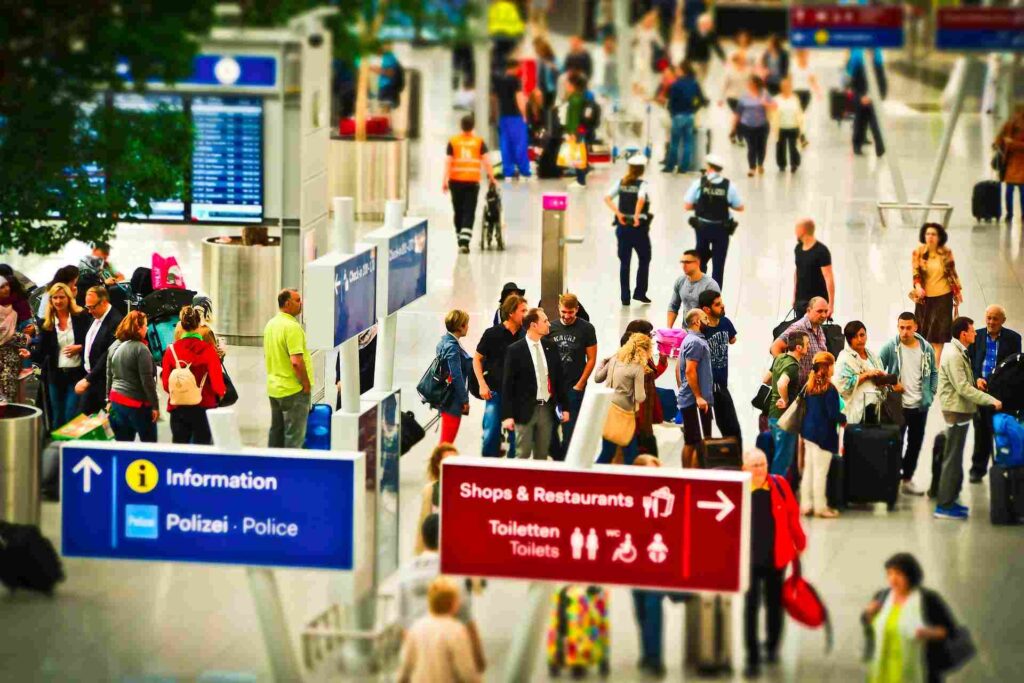
How to navigate the airport? You can see a lot of people around and a lot of boarding counters in front of you. I’ve seen people panicking after entering.
If you’re flying for the first time, I would recommend you stand at the corner for a few seconds, breath, and gather yourself.
Recollect the airport procedures step by step which you need to start. Try to find the airline name on the board and walk to that counter.
I was taking Jet Airways from Mumbai airport T2 when I realized that they have Jet Airway domestic and Jet Airway International within the same terminal.
I was confused. Hence, do not forget to check that the airline counter you’re standing at is boarding for international passengers and not for domestic.
Once you find your international airline counter, you’ve to proceed with luggage check-in. Normally, you’ll find a queue at the counter, so be patient.
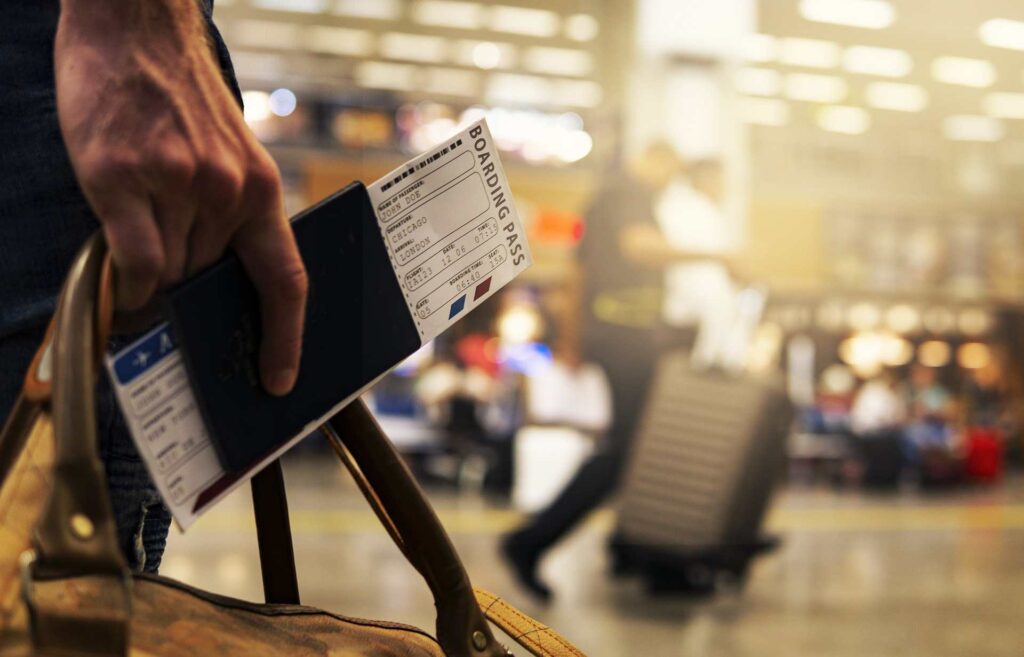
Here, they will verify your identity by asking for your ID, passport, and the weight of your carry-on-bags as well as check-in bags, and finally, give you the boarding pass.
If your bags are overweight, you’ve to pay extra or throw things into the trash. You’ll get your boarding pass, which is the most important document till you exit the airport.
Keep it very safe. You’ll notice that the airline authority puts a little sticker on the boarding pass with a barcode, which means they have your luggage with them.
Touch wood, I hope nothing happens to your bags and you never ever in life have to use that. Apart from that, it reflects your seat number and boarding gate number.
I always carry a waist travel pouch where I keep my money, Visa, passport, boarding pass, and headphone. This makes things so easy.
5. At the airport – security check-in
Security check-in is a place where you’ll be checked by the officials. All your electronic items inside carry-on baggage need to be kept on a tray for the scan.
You need to collect those small trays and put things on the tray. Electronic things like – laptops, MacBooks, chargers, power banks, phones, cameras, watches, or any such things.
Yes, you’ve to keep your jackets, coats, high trekking boots, or waist pouch on another tray separately for scanning.
Once you put things on the scanning process, go for the person-checking process. Keep in mind to be alert and keep your eye on your things. Make sure no one is stealing.
In case of personal security checking – you’ve to enter inside a little curtained cubical where the lady will check you with the metal detector and pat your body.
Nothing worries, it’s a regular checking process. Keep in mind, the process is lengthy, so always reach on time.
If there are any unauthorized objects in your bag the machine will alert the officials and they will check it personally. So, please do not carry any suspicious objects.
There is no way to escape! Once, things are done, they will put a stamp on your boarding pass which is a symbol of security check-in!
Remember, to collect everything back in your bag and you’re good to go! Please do not use your camera to record anything or carry water bottles or suspicious objects.
6. At the airport – immigration
The immigration process is a must for international boarding. At the immigration office, an Indian officer will verify your identity, passport, Visa, and your wish to travel.
Follow the order and stand in line. They’re Government employees and never try to fool them by arguing about anything.
They will ask you some basic questions like – the motive for traveling to a foreign country, on VISA, or some weird questions to check your knowledge.
Be confident and respond to every answer with a smile. Do not lie and never dare to shoot videos or talk on mobile phones inside the immigration office.
After you go through the process he will stamp your passport and boarding pass. It is important!
This stamp means you’re eligible of leaving the mother country for a foreign country on this particular date. After this, they will also click your photo.
If you’re traveling with old people or kids, make sure you stand for the separate line which is particularly for the use.
Finally 2 stamps on the boarding pass! Congrats! All the security processes are done!
7. Shopping + eating + resting
Now you’re free to enter the duty-free area of the airport where you can purchase things at duty-free rates.
This means you can purchase foreign products at cheaper rates. I normally buy foreign alcohol for my friends. You can get makeup, chocolates, and more things!
Please, do not open any alcohol bottles or chocolates till you reach the destination. Keep things sealed and follow the alcohol rules stated by the country.
There are food courts, it’s better to have food, use washrooms, and chill! Also, you can access the lounge to take a rest if you’ve enough time.
Also, do not forget to check your HDFC and ICICI credit card for free airport lounge access. You get free food, 2 beers, and sometimes alcohol too!
The place is fancy! But do not forget to check the boarding time and be at the Gate on time.
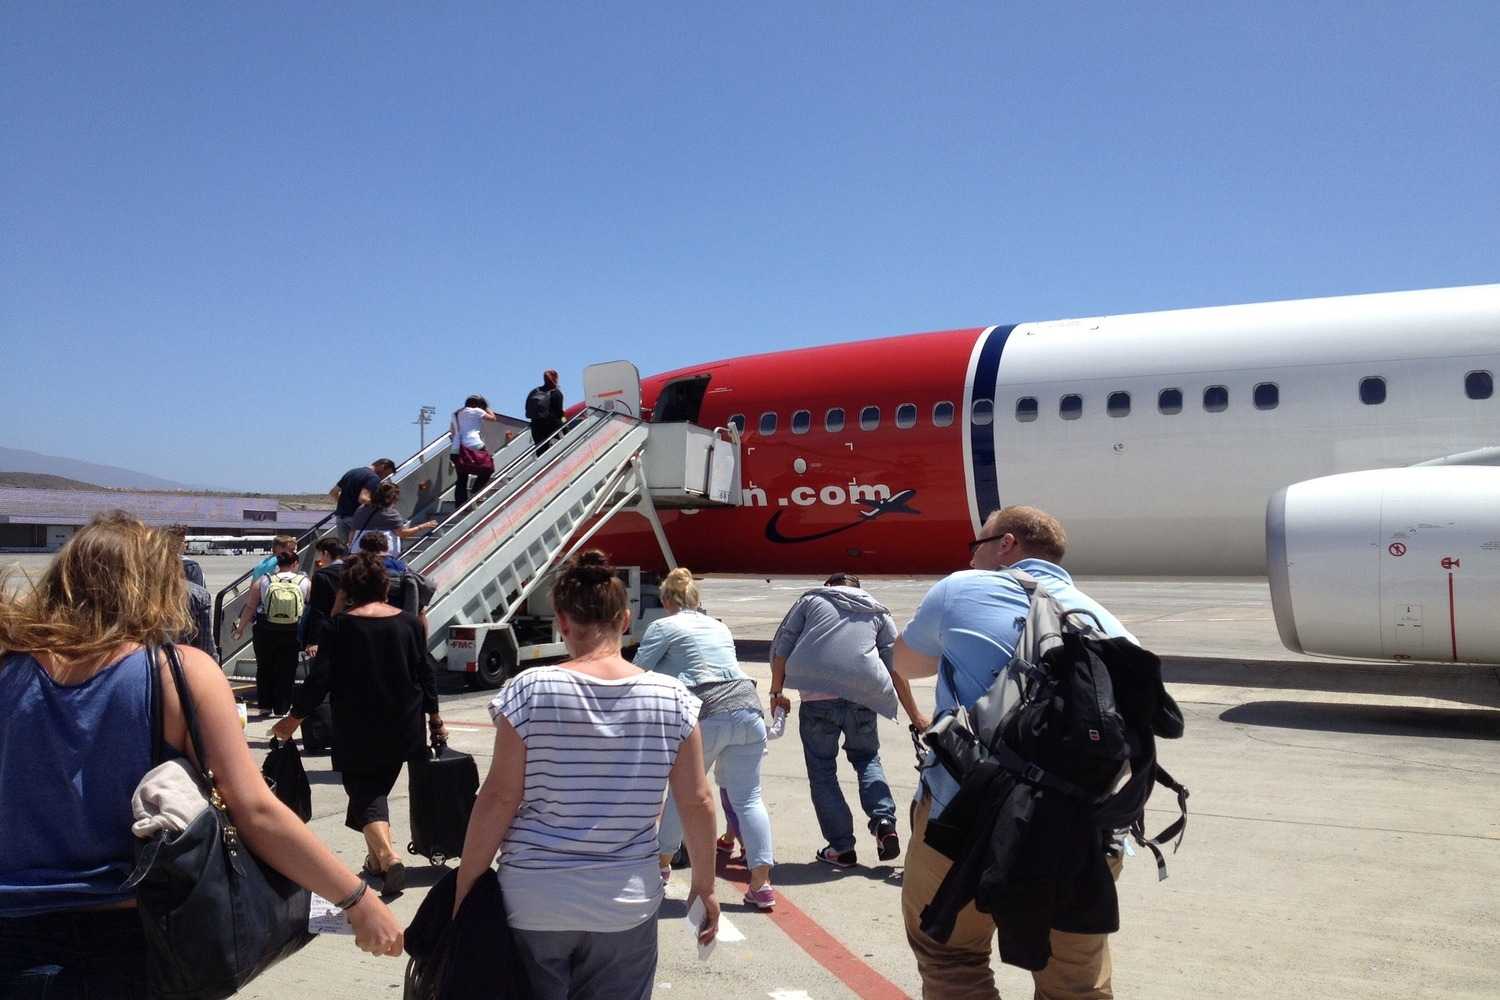
8. Boarding the flight
Reach the boarding Gate, 30 minutes before the boarding process starts. There are seating chairs where you can rest too!
To reach gate no, follow your boarding pass. You’ll get information on it. At first, there is priority boarding which means boarding for first class.
Hence, do not panic, sit there calmly and keep your eyes and ears open. Boarding is done section-wise depending on your set number. So, wait and do not panic.
While entering the boarding gate, the air hostess will ask for a boarding pass to tick mark and tear off the half portion which they’ll keep with themselves for information.
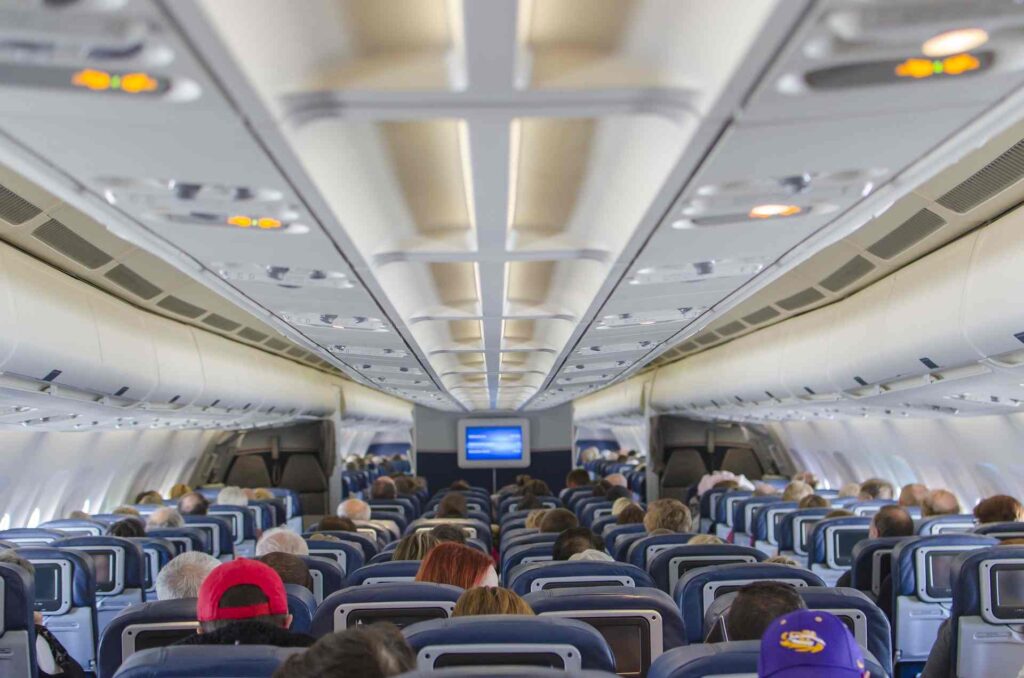
Enter the flight; take your seat and sleep. Mostly, that is what I do. You can watch movies, order food, read books, or simply rest!
Flying from India to the USA – Connecting Flights – Step 2
If you’re taking a flight to the USA from India, your flights will be connected to another country. It means you’ve to disembark from the first flight you took from India and board another new flight from the second place to reach the USA.
I’m mentioning the airport procedure step by step – however, you might not face this step. For example, during my Bangkok trip, I had a direct flight from India whereas, flying to the USA, I had connecting flight from London. So, it depends on the destination.
So, let’s know the airport procedure step by step for connecting flights –
9. Existing from the first flight
In my experience, the layover is normally for 2-4 hours so you do not have to worry about anything.
Once you‘re coming out from your first flight you will see two sign boards directing the way– Exit from the airport, and Connecting flight.
In this case, you’ve connecting flight so follow the arrow mark leading to connecting flight. You can also see information from the “Help Desk”.
The second consideration you’ve to take into account is the amount of time you need to reach the Gate. Check the airport boards.
On your boarding pass you’ll find the information on the Gate number, so, according to the Gate number reach the terminal on time. Check the board.
Once, you reach in front of your Gate, sit and board your flight. It’s the same as Step 1. However, do not worry about your luggage, it’s their duty.
10. Reaching the destination
As the flight takes off, you can rest because, within a few hours, you’ll be in your dream destination. You can order food/drinks anything you want.
Keep in mind, on the flight you’ll be handed a custom declaration form that you need to fill up if you’re carrying something that comes under custom duties.
Please, do not act smart and fill it with honesty. If they hold you lying you might end up in jail. So be very careful!
Airport Procedures Step by Step International – Final Destination – Step 3
Once you reach your destination airport you are just three steps far from reaching your foreign home. You’ve to go through the immigration process again which can be a little daunting.
You’ve to be patient and cooperate with them till the process is done.
11. Immigration at the destination airport
After exiting the flight, head your way to the immigration office. Keep in mind, every country has different sets of rules for the immigration process (inbound passengers).
In the USA, Indian passengers with their particular VISA type have to queue up at separate counters. For example, the B-1 Visa queue is separate from H1-B VISA.
Once your turn comes, the immigration officer will verify your documents like – passports, VISA, travel documents, itinerary, address, the intention of the visit, and more.
Please, answer their question straightforwardly, do not try to fool them. You might face language issues but be calm and they will understand it. No worries!
Once, they verified your details they will stamp the passport with a date. This is very important! Also, they will click a picture of yours.
The immigration process in the USA is a little time-consuming but simple.
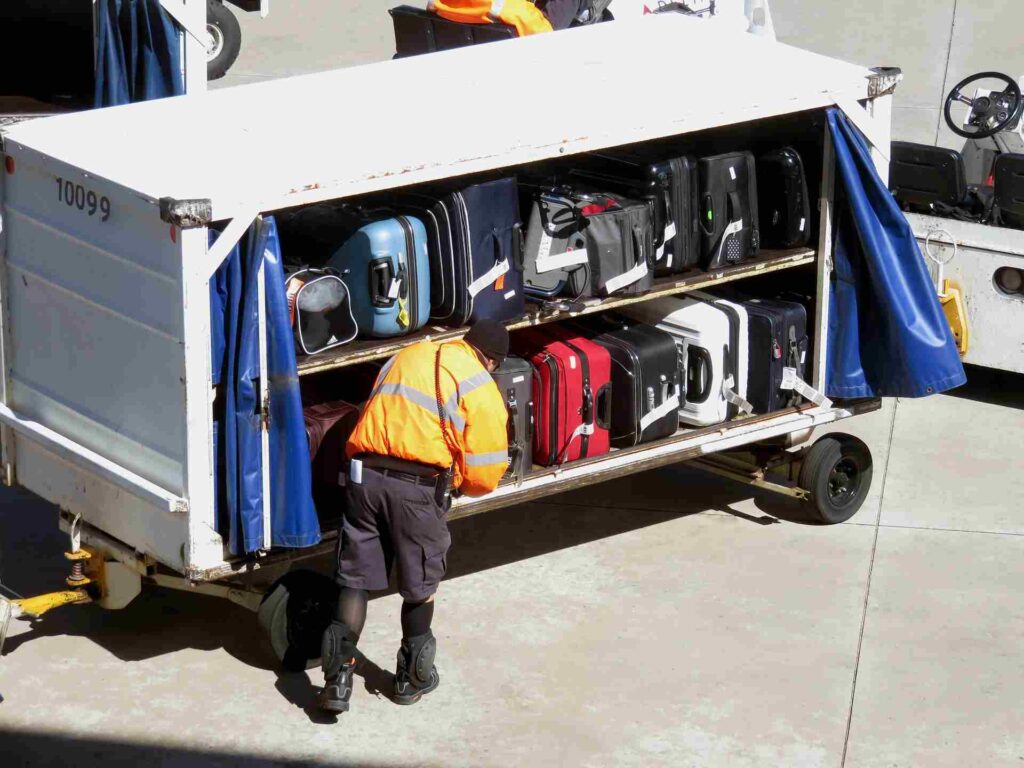
12. Collect your Check-in bag (which you checked-in in India)
Once, immigration at the destination airport is done, walk to the baggage pick-up belt to collect your bags. Make sure, you collect your own bags and not others.
However, if any of your bags are missing, the boarding pass is the only travel document that can retrieve your lost baggage. So, you know how important it is!
Also, travel insurance comes into account herein. Additionally, if you find out your bag did not reach the destination report it as soon as possible. They’ve got a tracking system!
I hope you do not have to face such a situation. Keep in mind, it is the flight’s responsibility to tell you on which aisle you’ll find your baggage.

13. Customs
While existing, you’ll see officers standing there with dogs, welcoming you! I am just kidding. The last but most important step is you’ve to go through Customs.
Do not carry any contraband items against the laws. Foods and liquids are common things Indians are charged for Customs.
The main motive against destination airport Customs is the passenger not bringing things from India to sell and earn profit.
Voila, here you’re in your dream destination. Your journey is over. I’ve taken you around the whole airport procedures step by step for an international flight.
I hope you did not face any problems.
Read more:
- 9 Best Budget Travel Tips: How To Travel On A Budget?
- 9 Safe Places To Travel In India
- How To Travel In India With a Low Budget? Budget India Travel Tips
- The Guide: How To Travel With Dog In Train In India?
FAQ: Airport procedure for first-time flyers
For first-time flyers how is the immigration process in the USA?
a. For first-time flyers, the immigration process in the USA is nothing fearful. The immigrant officers will check your VISA type, tickets, travel documents, travel itinerary, travel plans, and booking ids of hotels. Once, they verified you as “not a threat” they will stamp your passport with a date and click your picture.
What are the documents required for the immigration airport?
A. The immigration officer at the airport asks for your valid VISA, passport, health certificates, identity card, and travel itinerary with every detail.
How much time before to reach the airport for an international flight in India?
A. For an international flight, it is highly recommended to reach the airport 4 hours before flight departure. Also, you can complete your check-in process prior 24 hours before coming airport for a smooth departure. Also, remember, boarding gates close 20 minutes before the flight scheduled take off.
How many liquor bottles are allowed on international flights in India?
A. You can carry 5 liquor bottles with you in the check-in baggage. Moreover, it is highly advisable to check with the airline operator with whom you’re flying beforehand about the liquor bottle policies they follow. There is no written set of rules so please follow and connect with the airline operator for such information.
What is the amount of cash allowed on international flights in India?
A. The legal limit to carry cash per person per trip in USA Dollars from India is USD 3,000. However, in form of currency notes, or travel check you can carry up to $10,000. But, please do not carry more or else, you’ve to visit customs.
Is rice allowed on an international flight to the USA?
a. No, rice is not allowed on an international flight to the USA. It is considered an agricultural product.
Are pickles allowed on a flight to the USA?
A. Yes, you can carry pickles from India to the USA in your check-in baggage and not in your hand baggage.
Is tamarind allowed on a flight to the USA?
A. No, you cannot take tamarind on the flight to the USA because you cannot carry plants and seeds into the USA. Also, if you’re carrying it with you then you might have to pay extra in the customs department.
How much gold is allowed on international flights to the USA?
A. You can carry gold but have to fill FINCEN 105 form if the total worth of the gold exceeds $10,000.